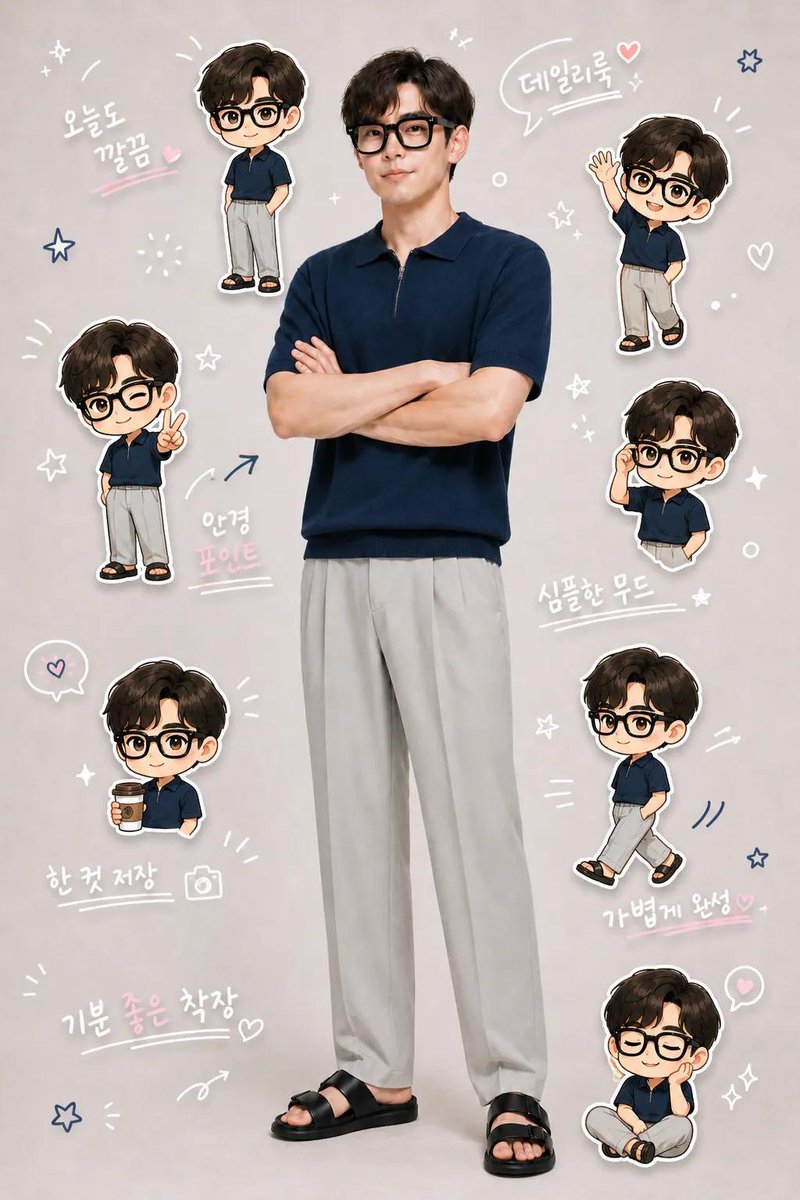
Create a high-quality “chibi clone sticker diary photo” based on the uploaded real-life image. Preserve the original person’s identity, face, hairstyle, hair color, outfit, body proportions, pose, lighting, and background.
Fields you can change: style, theme, accent color.
Full prompt
Create a high-quality “{argument name="style" default="chibi clone sticker diary photo"}” based on the uploaded real-life image. Preserve the original person’s identity, face, hairstyle, hair color, outfit, body proportions, pose, lighting, and background. Do not alter facial features or turn the subject into a full illustration—maintain a realistic photo look. Analyze the scene as a {argument name="theme" default="fitness/running lifestyle moment"}. Add 5–8 chibi mini clones of the same person around the subject, designed in a consistent kawaii sticker style (big head, small body, large expressive eyes, clean digital finish). Each clone must clearly resemble the real person (same hair, outfit, colors). Design each chibi with different theme-related actions and emotions. Render each chibi as a sticker with white outlines, soft shadows, and a slightly floating effect. Arrange them around the subject and edges without covering the face or main body. Add light hand-drawn doodles in white with {argument name="accent color" default="subtle pink accents"}, keeping a clean scrapbook diary feel. Include 5–8 short handwritten-style phrases matching the mood. Composition: keep the real person as the central focus, surrounded by chibi stickers and doodles. The result should feel like a polished, playful, high-resolution social media lifestyle diary image.
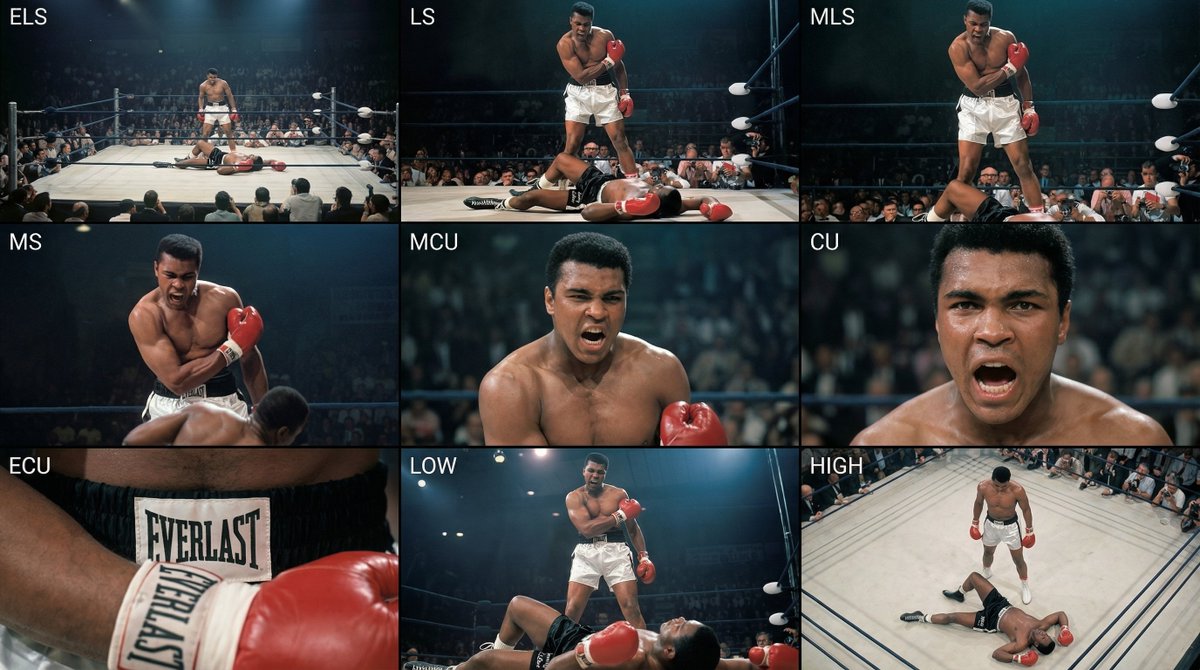
Analyze the entire composition of the input image. Identify all key subjects present (whether a single person, group/couple, vehicle, or specific object) and their spatial relationships/interactions.
Generate a coherent 3×3 “contact sheet” grid that shows 9 different shots of exactly these subjects within the same environment.
You must adapt standard cinematic shot types to fit the content (for example, if it’s a group, keep the group together; if it’s an object, frame the entire object):
Row 1 (establishing the environment):
Extreme long shot (ELS): the subject appears small within a vast environment.
Long shot (LS): the full subject or group is visible from top to bottom (head to toe / wheels to roof).
Medium long shot (American shot / three-quarter): framed from above the knees (for people) or a 3/4 view (for objects).
Row 2 (core coverage):
4. Medium shot (MS): framed from the waist up (or the central core of an object). Focus on interaction/action.
5. Medium close-up (MCU): framed from the chest up. An intimate framing of the main subject.
6. Close-up (CU): tightly framed on the face or the “front” of the object.
Row 3 (details and angles):
7. Extreme close-up (ECU): intense focus on key features (eyes, hands, signs, textures) with macro-like detail.
8. Low-angle shot (worm’s-eye): look up at the subject from ground level (epic/heroic feeling).
9. High-angle shot (bird’s-eye): look down on the subject from above.
Ensure strict consistency: the same person/object, same clothing, and same lighting must appear in all 9 panels. Depth of field should vary realistically (with background blur in close-up shots).
Create a professional 3×3 cinematic storyboard grid with 9 panels.
The grid should present a specific subject/scene from the input image across a full range of focal lengths.
Top row: wide environmental shot, full-body view, 3/4 cropped (knees-up).
Middle row: waist-up view, chest-up view, face/front close-up.
Bottom row: macro details, low angle, high angle.
All frames must have photo-realistic textures, consistent cinematic color grading, and correct framing tailored to the number and type of subjects or objects being analyzed.
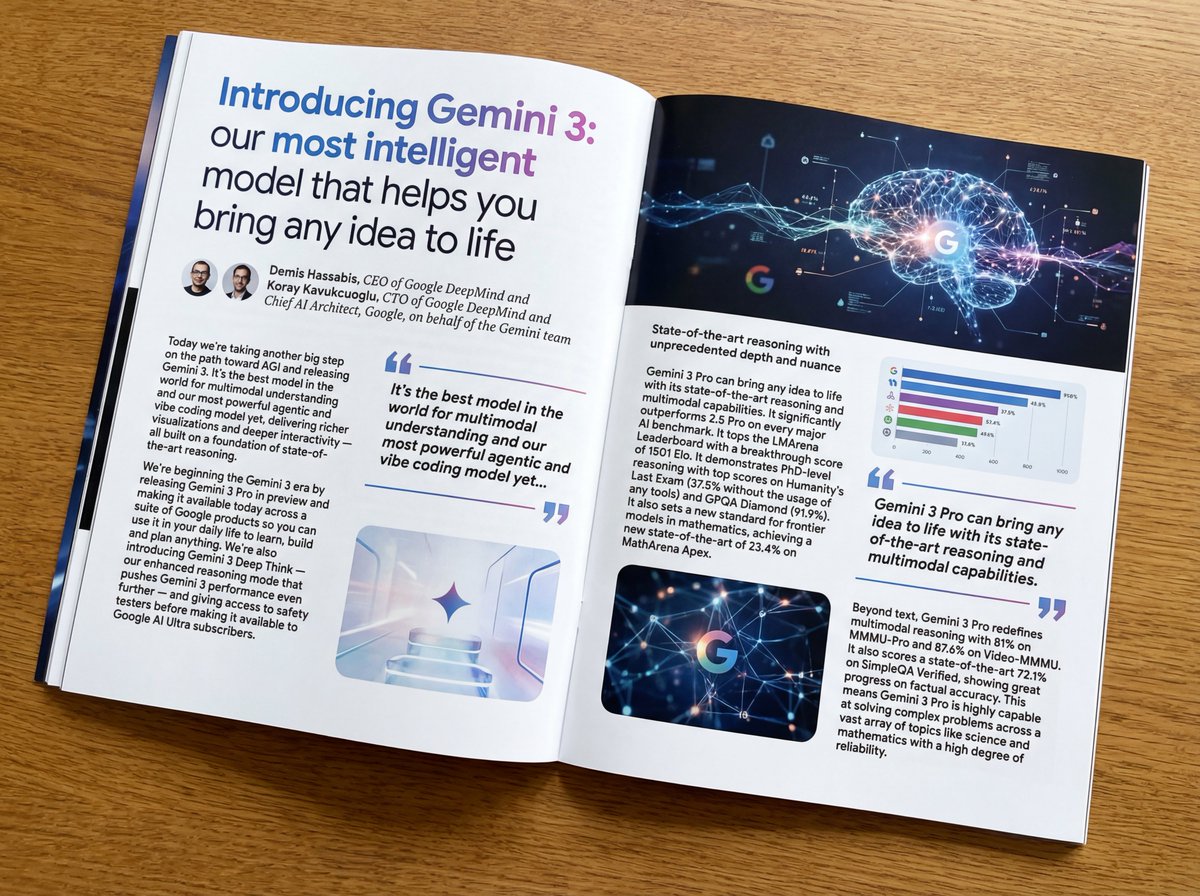
Put this whole text, verbatim, into a photo of a glossy magazine article on a desk, with photos, beautiful typography design, pull quotes, and bold formatting. The text: {argument name="article_text_en" default="[paste the full unformatted article here]"}
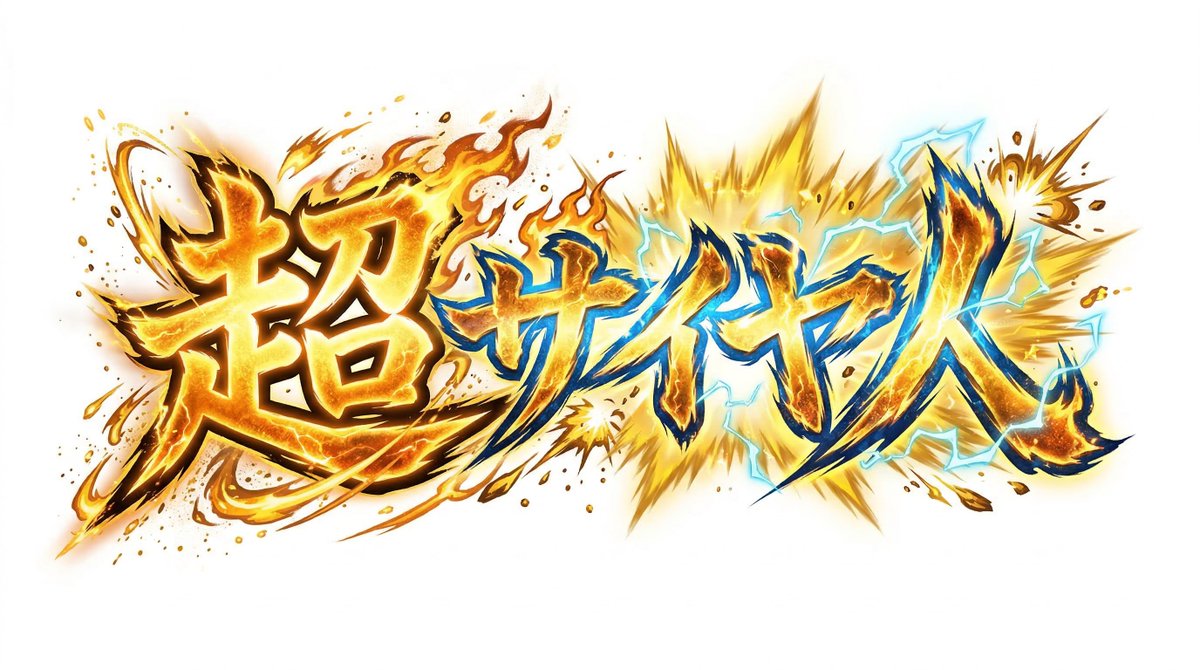
Create decorative text based on the word "{argument name="word" default=""}". Write the specified word largely and create decorative text designs associated with the image of the word. Create original designs with flexible ideas, without being constrained by existing fonts. The background should be a single color, white or black, matching the design.