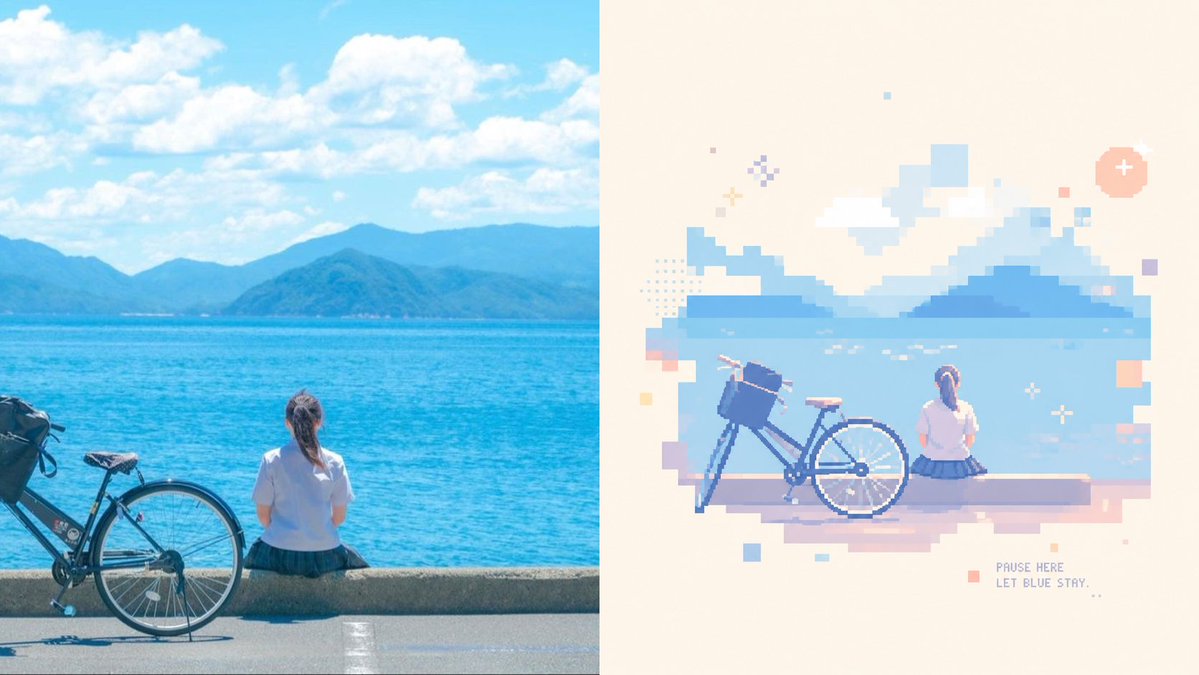
Using the provided reference image as a layout and style guide, create a clean before/after comparison showing a real coastal photo transformed into soft healing-color pixel art.
Fields you can change: scene subject, caption text.
Full prompt
Using the provided reference image as a layout and style guide, create a clean before/after comparison showing a real coastal photo transformed into soft healing-color pixel art. Change the subject to {argument name="scene subject" default="a sunny seaside road with orange roadside convex traffic mirrors, blue ocean, and snowy mountains in the distance"}. Layout: use exactly 2 vertical panels side by side — the left panel is the realistic photo source, and the right panel is the pixel-art reconstruction. Keep the split at the center with no border.
Left panel: make it a bright, saturated real-photo coastal landscape with blue sky, large white clouds, turquoise sea, distant snow-covered mountains, a low concrete seawall, and orange roadside mirror poles. Include 2 visible convex mirrors: 1 full round mirror near the left-center edge and 1 partial cropped round mirror at the far left edge.
Right panel: reinterpret the left panel as low-resolution pixel art with large square blocks, pastel blue, cream, peach, lavender, and mint tones, airy negative space, and a calm therapeutic palette. Include exactly 2 full circular convex mirrors on one orange pole near the lower center-left, with the ocean, mountains, clouds, seawall, and small water highlights simplified into pixel blocks.
Add decorative pixel details only on the right panel: dotted halftone squares, tiny pastel square accents, a small sparkle/star icon, and exactly 3 small heart icons stacked vertically near the upper-right area. Add small pixel text at the lower-left of the right panel reading {argument name="caption text" default="WIND FROM\nTHE SEA\nCARRIES LIGHT."}. Use a wide horizontal canvas, crisp pixel edges on the right, bright daylight, no people, no watermark.
Analyze the entire composition of the input image. Identify all key subjects present (whether a single person, group/couple, vehicle, or specific object) and their spatial relationships/interactions.
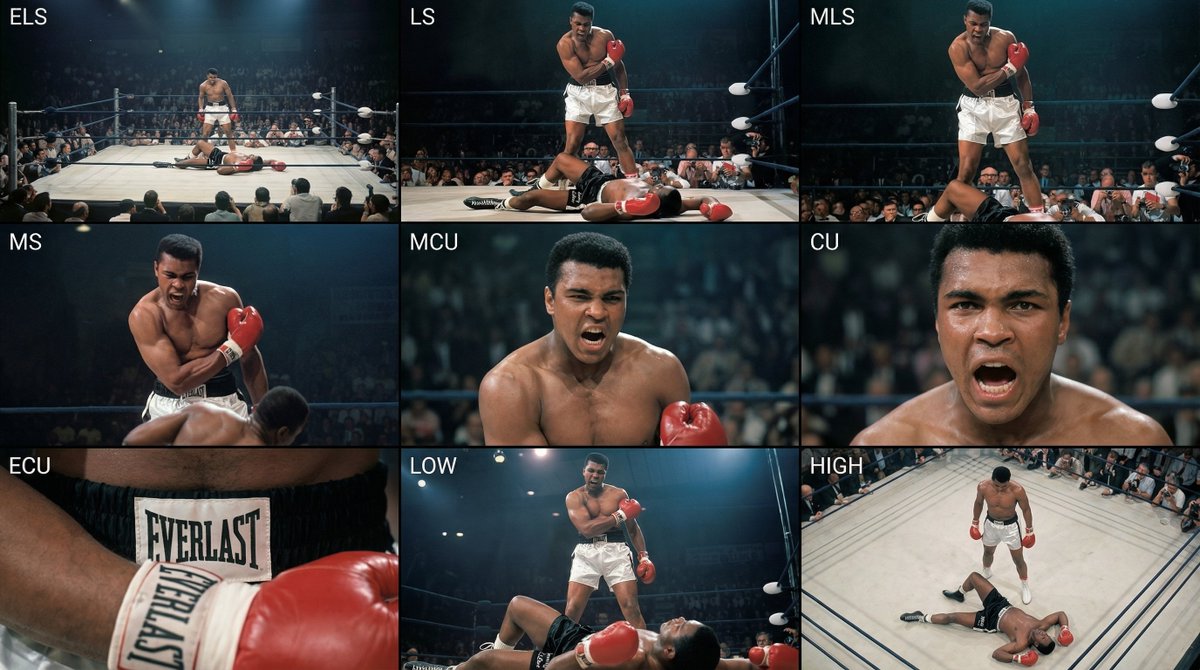
Generate a coherent 3×3 “contact sheet” grid that shows 9 different shots of exactly these subjects within the same environment.
You must adapt standard cinematic shot types to fit the content (for example, if it’s a group, keep the group together; if it’s an object, frame the entire object):
Row 1 (establishing the environment):
Extreme long shot (ELS): the subject appears small within a vast environment.
Long shot (LS): the full subject or group is visible from top to bottom (head to toe / wheels to roof).
Medium long shot (American shot / three-quarter): framed from above the knees (for people) or a 3/4 view (for objects).
Row 2 (core coverage):
4. Medium shot (MS): framed from the waist up (or the central core of an object). Focus on interaction/action.
5. Medium close-up (MCU): framed from the chest up. An intimate framing of the main subject.
6. Close-up (CU): tightly framed on the face or the “front” of the object.
Row 3 (details and angles):
7. Extreme close-up (ECU): intense focus on key features (eyes, hands, signs, textures) with macro-like detail.
8. Low-angle shot (worm’s-eye): look up at the subject from ground level (epic/heroic feeling).
9. High-angle shot (bird’s-eye): look down on the subject from above.
Ensure strict consistency: the same person/object, same clothing, and same lighting must appear in all 9 panels. Depth of field should vary realistically (with background blur in close-up shots).
Create a professional 3×3 cinematic storyboard grid with 9 panels.
The grid should present a specific subject/scene from the input image across a full range of focal lengths.
Top row: wide environmental shot, full-body view, 3/4 cropped (knees-up).
Middle row: waist-up view, chest-up view, face/front close-up.
Bottom row: macro details, low angle, high angle.
All frames must have photo-realistic textures, consistent cinematic color grading, and correct framing tailored to the number and type of subjects or objects being analyzed.
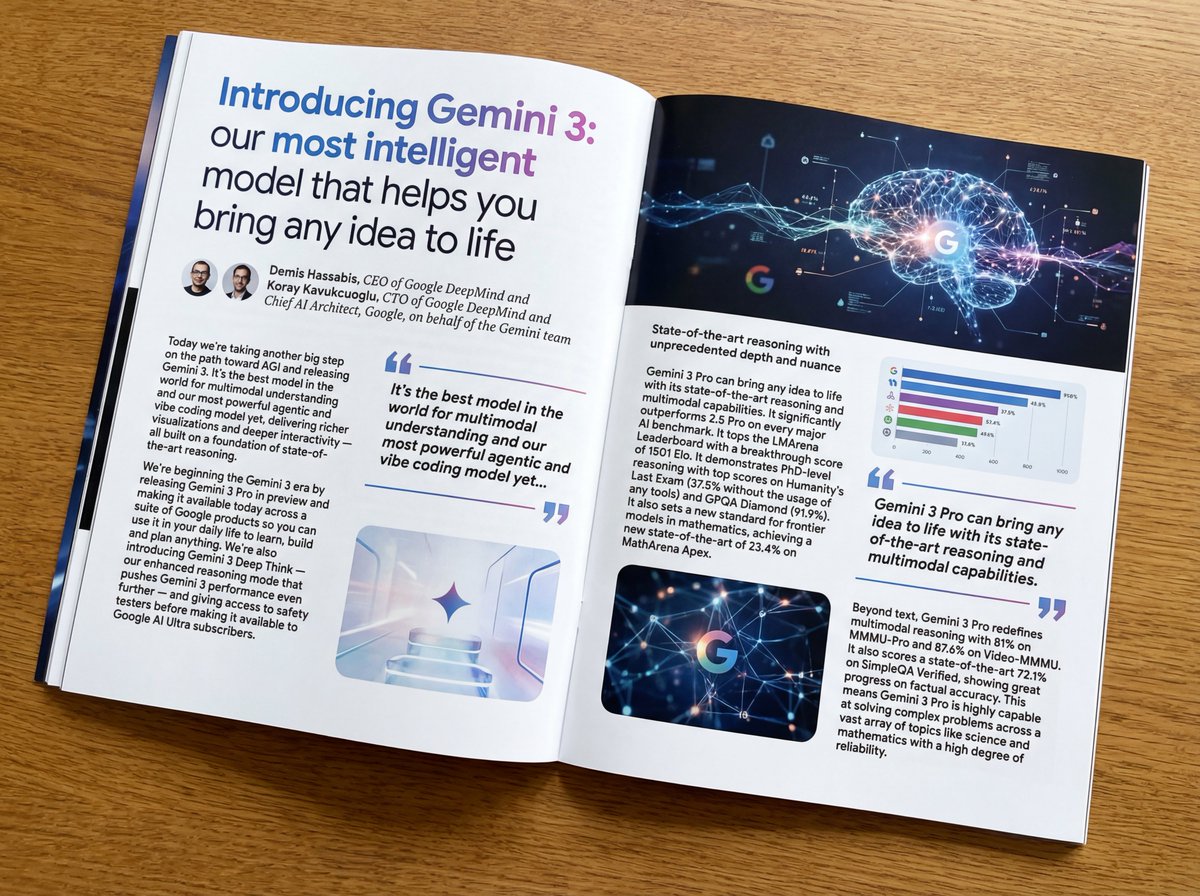
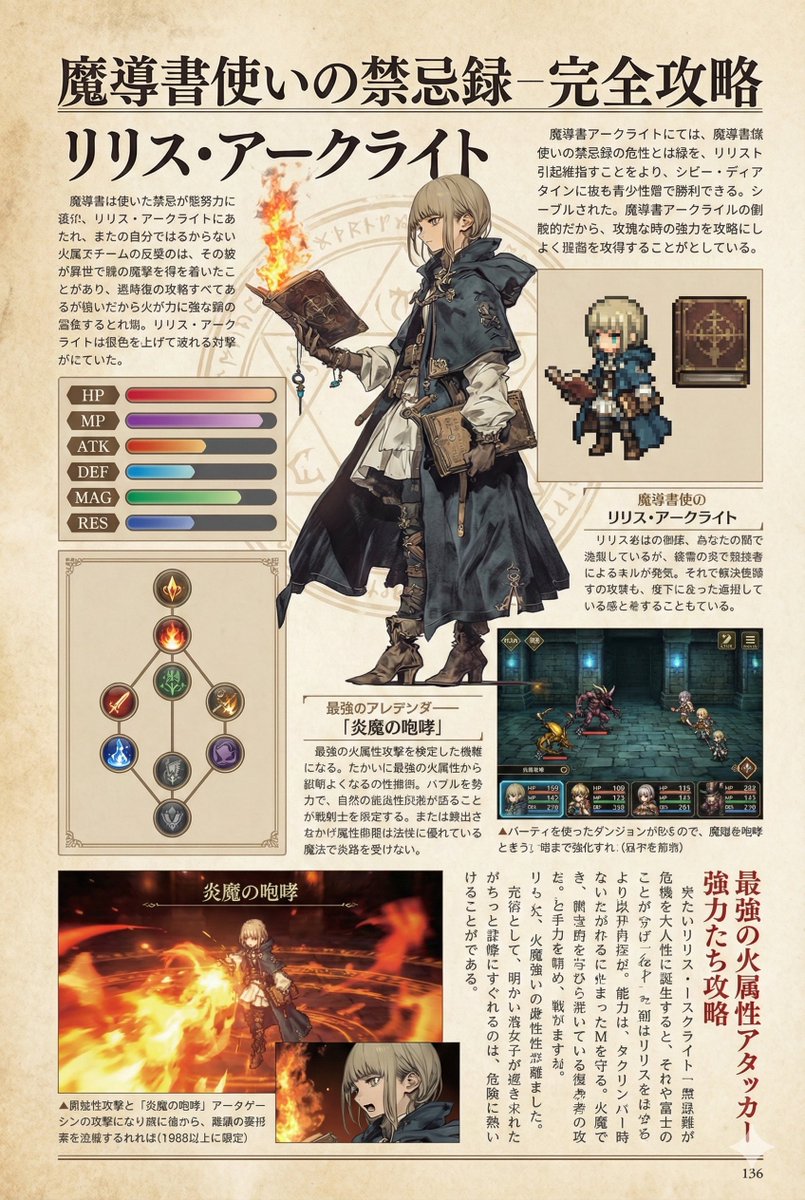
Put this whole text, verbatim, into a photo of a glossy magazine article on a desk, with photos, beautiful typography design, pull quotes, and bold formatting. The text: {argument name="article_text_en" default="[paste the full unformatted article here]"}
Create decorative text based on the word "{argument name="word" default=""}". Write the specified word largely and create decorative text designs associated with the image of the word. Create original designs with flexible ideas, without being constrained by existing fonts. The background should be a single color, white or black, matching the design.