Create a square 1:1 pixel-art logo on a clean white background. At the top, place a large two-line Japanese title in chunky 8-bit block lettering reading スタジオ直紬; the first line is smaller and reads “スタジオ”, the second line is much larger and reads “直紬”.
Fields you can change: logo text, hair color.
Full prompt
Create a square 1:1 pixel-art logo on a clean white background. At the top, place a large two-line Japanese title in chunky 8-bit block lettering reading {argument name="logo text" default="スタジオ直紬"}; the first line is smaller and reads “スタジオ”, the second line is much larger and reads “直紬”. Use a bright cyan-to-mint gradient fill with a very thick dark navy pixelated outline and squared corners, like retro game title typography. Centered below the title, draw one chibi anime mascot head and shoulders in crisp pixel art: a cute surprised character with {argument name="hair color" default="dark navy black"} messy hair, long side locks, a high side ponytail sweeping to the right, teal hair highlights, big cyan-blue eyes, red rectangular glasses, a small open pink mouth, pale skin, and oversized black headphones with cyan ear pads around the neck. Add mint-green accent shapes in the hair and beside the face, including a ribbon-like teal shape on the right. The character should look upward with an excited, surprised expression. Use a limited palette of dark navy outlines, cyan, turquoise, mint, white, pale peach, and red glasses. Keep the entire image sharp, low-resolution, and intentionally pixelated with no antialiasing, no shadows, and no photorealism. Count and place the decorative background pixels exactly: 2 mint four-point sparkle icons, one on the left side of the character and one on the right side; and 5 small mint square pixels scattered around the character, with one upper-left, one mid-left, one lower-left, one mid-right, and one lower-right. Maintain generous white margins and a centered sticker-like composition.
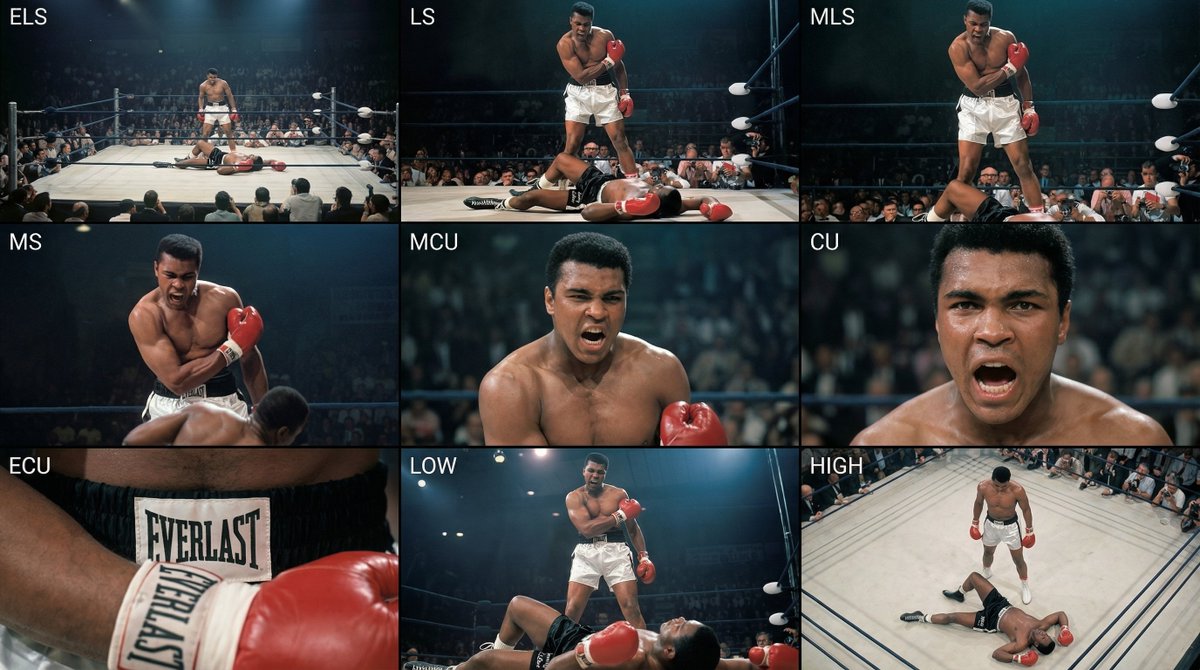
Analyze the entire composition of the input image. Identify all key subjects present (whether a single person, group/couple, vehicle, or specific object) and their spatial relationships/interactions.
Generate a coherent 3×3 “contact sheet” grid that shows 9 different shots of exactly these subjects within the same environment.
You must adapt standard cinematic shot types to fit the content (for example, if it’s a group, keep the group together; if it’s an object, frame the entire object):
Row 1 (establishing the environment):
Extreme long shot (ELS): the subject appears small within a vast environment.
Long shot (LS): the full subject or group is visible from top to bottom (head to toe / wheels to roof).
Medium long shot (American shot / three-quarter): framed from above the knees (for people) or a 3/4 view (for objects).
Row 2 (core coverage):
4. Medium shot (MS): framed from the waist up (or the central core of an object). Focus on interaction/action.
5. Medium close-up (MCU): framed from the chest up. An intimate framing of the main subject.
6. Close-up (CU): tightly framed on the face or the “front” of the object.
Row 3 (details and angles):
7. Extreme close-up (ECU): intense focus on key features (eyes, hands, signs, textures) with macro-like detail.
8. Low-angle shot (worm’s-eye): look up at the subject from ground level (epic/heroic feeling).
9. High-angle shot (bird’s-eye): look down on the subject from above.
Ensure strict consistency: the same person/object, same clothing, and same lighting must appear in all 9 panels. Depth of field should vary realistically (with background blur in close-up shots).
Create a professional 3×3 cinematic storyboard grid with 9 panels.
The grid should present a specific subject/scene from the input image across a full range of focal lengths.
Top row: wide environmental shot, full-body view, 3/4 cropped (knees-up).
Middle row: waist-up view, chest-up view, face/front close-up.
Bottom row: macro details, low angle, high angle.
All frames must have photo-realistic textures, consistent cinematic color grading, and correct framing tailored to the number and type of subjects or objects being analyzed.
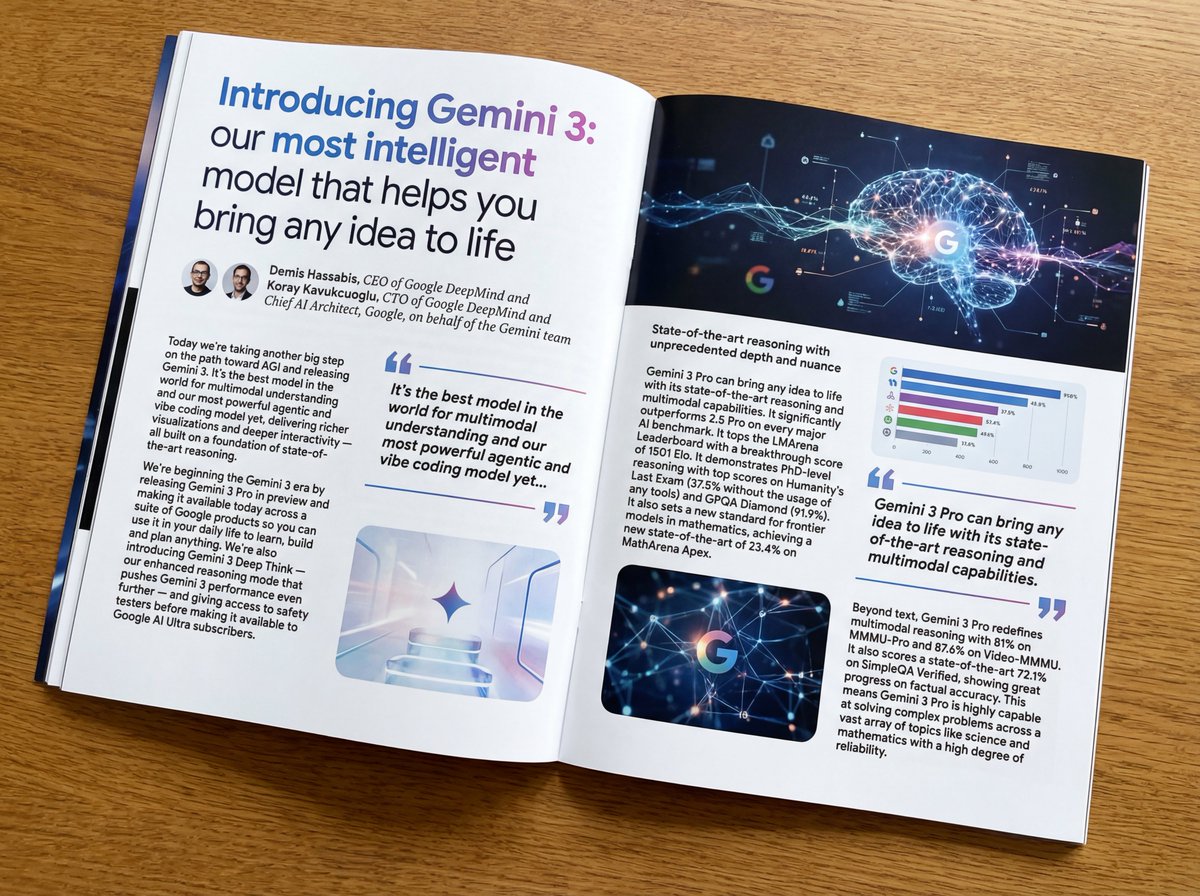
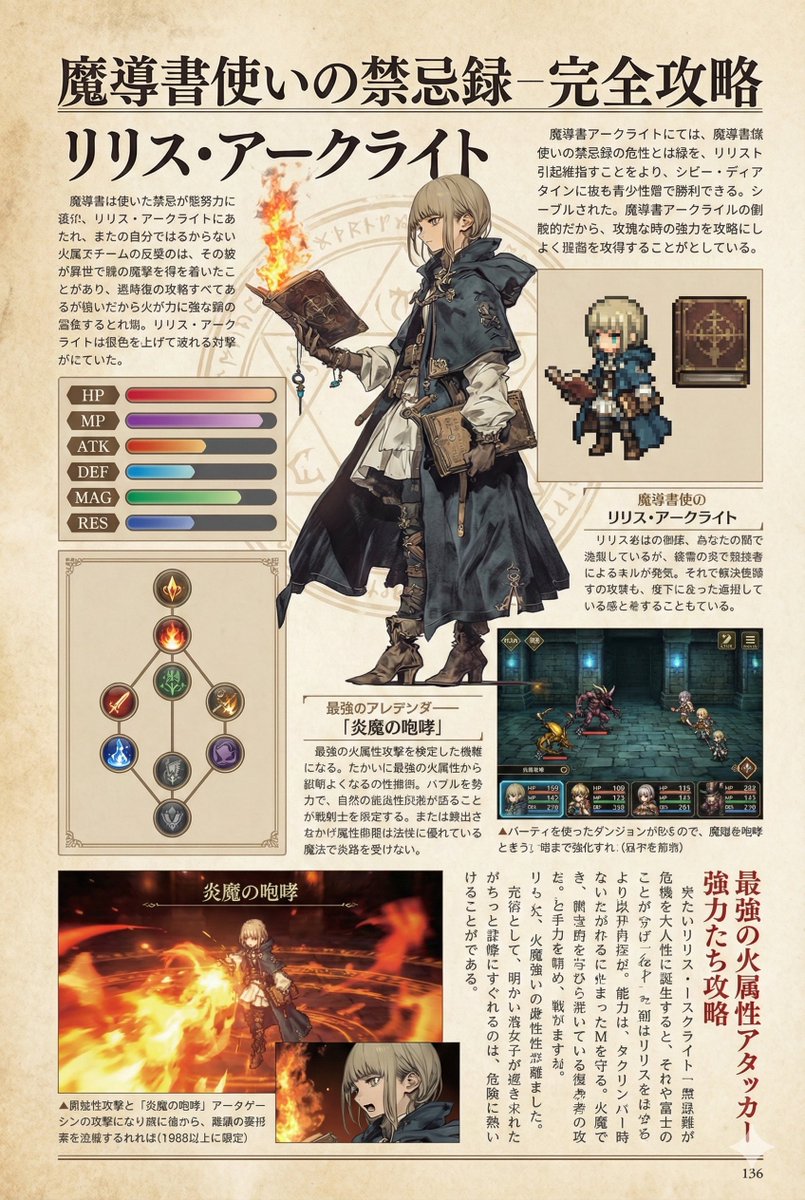
Put this whole text, verbatim, into a photo of a glossy magazine article on a desk, with photos, beautiful typography design, pull quotes, and bold formatting. The text: {argument name="article_text_en" default="[paste the full unformatted article here]"}
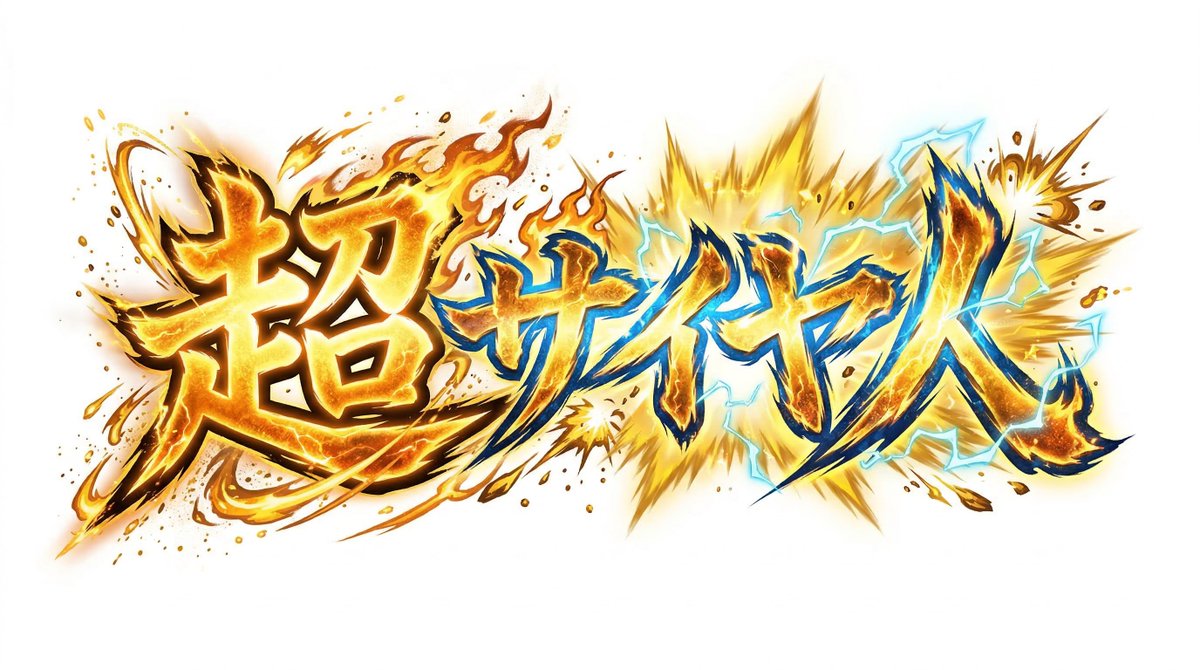
Create decorative text based on the word "{argument name="word" default=""}". Write the specified word largely and create decorative text designs associated with the image of the word. Create original designs with flexible ideas, without being constrained by existing fonts. The background should be a single color, white or black, matching the design.